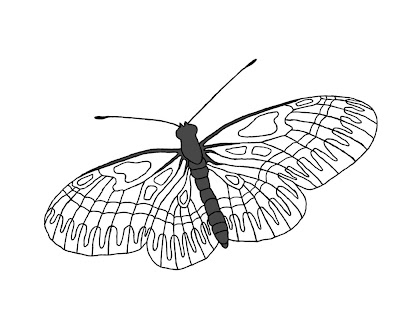
I opened the photo in Photosshop and added a new layer. I then zoomed in to 400% and set my foreground color to black. I then set my paintbrush to 2 pixel diameter and traced the outline you see here.
*******
I then created a new layer and set my color to 80% gray and my brush to 10 pixels. I reduced my zoom to around 100% so that the whole body just fit onto my page. Using an electronic pen and drawing tablet, I filled in the body with the gray.
*******
If you are using 100% opacity for you paintbrush color, then you can stop and start as much as you want; and you will get an even coat. If, however, you were using less than 100% opacity, then you would need to leave the pen down on the tablet without lifting it until you got the entire field filled. This gives an even tone to the color, whereas if you lift the pen and paint more; you get an overlapping of color and uneven tone.
*******
This would apply here if you wanted to mix 2 colors together. You could set them each at 50% opacity or 60-40 and so on. I often fill with reduced opacity when workig with flower photos to boost the color in an area. It is especially helpful where the photo has some white out from overexposure. That is a common occurance here in Tucson when taking a photo in full sun.
*******
I didn't have to be too precise about the edges for two reasons. First, by placing the gray layer below the balck outline, the black lines cover some roughness. By zooming back up to around 400%, I can also use my eraser to tidy up the gray to fit my boundaries.
*******
I then merged the gray and outline layers into one. You could leave them separate if you want to vary the body color.

No comments:
Post a Comment