*******
In some mandalas, I will take a shape like this and make it a design element. In such a case, I will usually stroke it with a contrasting color so that it has an outline. We could create a series of such shapes concentrically, each with a different color; so as to add more color to our backgrounds. See some of my mandalas with figures.
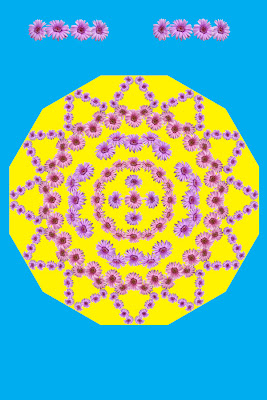
 We now take 4 flowers and create what I call a "line element". Arrange the flowers in a line as seen above and overlap them to create the line. Play with it until you get a design you like. You can then duplicate your image and flip it horizintally so that you have a pair to work with.
*******
Scale the lines down and drag to the top of our outer ring. Rotate them, position and scale until you get the star point you need. Link the layers and duplicate. Follow the preceding process to complete the star all the way around. You may need to readjust if the points don't quite fit. In this case my points were spaced out too far, but came together as I wanted, so I linked all the star layers and scaled them down for a perfect fit.
*******
If we wanted to, we could put a small flower at the tip of each point to create a sharper point. We could also place a larger flower in the center of each point and another between points. I am going to leave this more open look, but you are free to experiment.
*******
When we are done with them, we can hide our line elements. Hidden layers will be deleted when we flatten our final phase.

No comments:
Post a Comment