


This is the most impotant update I have for you at this time. I had shown you using the extract filter and eraser tool to extract flowers from the background in photos. I have now learned to use the pen tool to do the extraction, and it makes things much faster.
*******
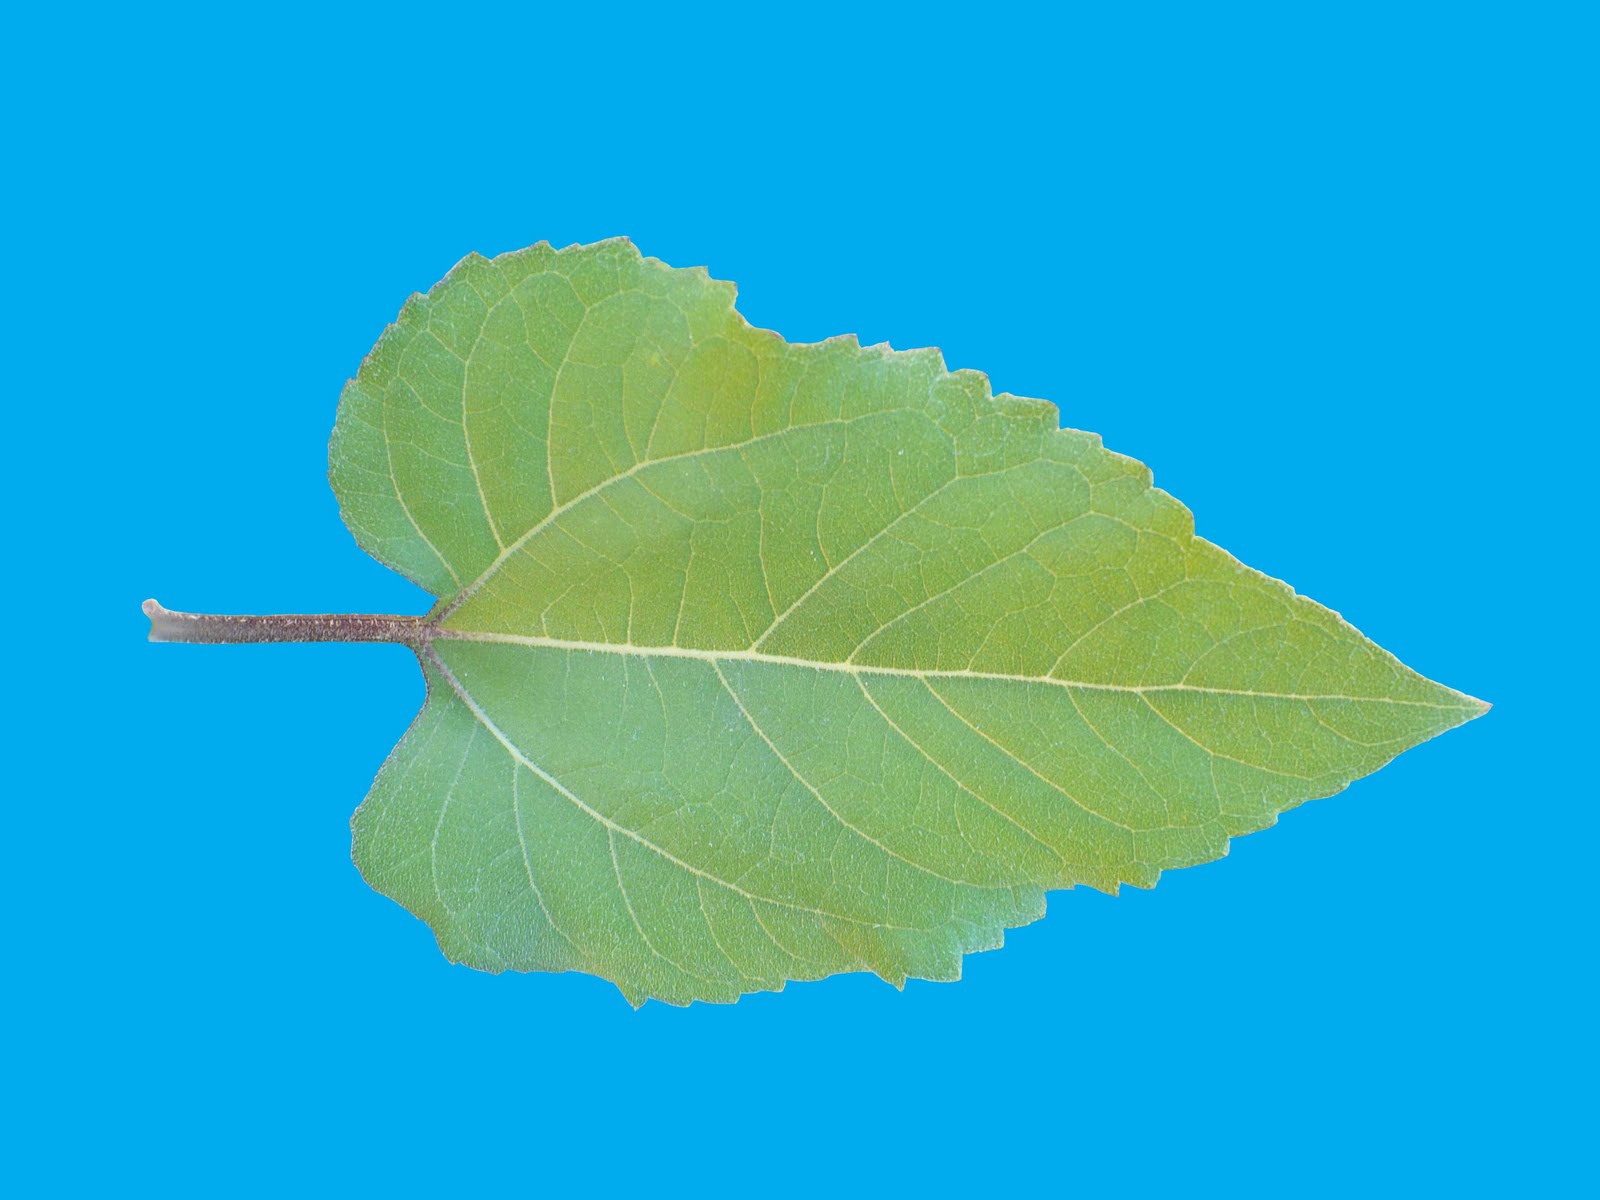
At the top is the original photo of a sunflower leaf. I duplicated the image and labeled the file as needed. We will talk about organization and storage of images at another time.
*******
I begin the extraction by zooming in several times so that I can work at a high resolution. The higher the resolution, the more precise the outline, but the longer it takes to complete the outline, so try to strike a balance here.
*******
I then took the pen tool (short cut = P). You can use a mouse for this and click various points left clicking as you go. With an electronic pen and graphics tablet, it is much faster; and you just touch the pen to the tablet to add outline points. Trace around the outside of the leaf and you will be able to watch the points as you add them.
*******
On the upper right of the layers palette, you can adjust the fill opacity of the mask. If you leave it at 100%, a solid mask will develop as you trace around the leaf. I usually reduce the opacity to zero. There are times when I will use 40% or so. I suggest you experiment with what suits you.
*******
If you place a point off from what you wanted, click the directional tool, A and you can drag a point as needed. You also have add point and subtract point options in Photoshop. If you need to back track, use the history palette to erase a series of points.
*******
When you get back to the start, you will complete a loop which is your whole outline.
Go to top of layers palette and choose paths. Right click on the highlighted bar which appears and choose "make selection". That will bring up a pop up window with options of new selection, and add or subtract from selection. Choose new selection. Your outline will start flashing.
*******
You can lose all your work if you make a wrong move here. There may be other ways of dealing with this. I am new to this mask function myself. and don't understand all the ins and outs of masks, but his works for me.
*******
First, I merge the selection layer down to the background layer. You may also simply merge the two layers.
*******
I then duplicate my image. With the new image, I add a new layer, and then add a new layer from background. I then move the blank layer below the layer with the image. I can now delete the image layer and end up with a blank page. Now I go to the layer with the mask, clik "V", and put my cursor inside of my selection. I can then drag the selction to the blank page. The selection will now be a stable layer on the new page. I can add a layer and give it a solid blue fill to get the image you see next.
*******
I have added some red arrows to indicate points that have blemishes. Touching up photos is a whole other subject, and I am just learning how to do it. One tool to experiment with is the healing brush tool and its cousin the spot healing tool. They can work wonders, but can be tricky to use.
*******
What I did here, is use the eye dropper tool to sample the surrounding color I want to use to fill the blemish area. I then use the brush tool to dab color on the spot. I zoom in to do this, and can sample different colors to fill a large area so as to give a matching kind of texture to the leaf. I can blend the colors with the blur tool, "R". While your fix may not look perfect at high resolution, when you return to normal, your patch will be unnoticeable. One could use this method to turn a photo into a digital painting. I haven't taken the time to do so yet, but plan to in the future. Perhaps you want to beat me to it.
*******
The next image shows the leaf touched up. Not bad, eh?
*******
Things get more complicated when you have an image like the whole plant in the next image. The open spaces in the middle present another challenge. There may be a more efficient method of doing this, but this is what I have come up with. As always, I am grateful to recieve tips on improving my mehtods.
*******
Begin by outlining the whole plant and making your selection as before. Move it to a new page to stabilize it, and you can start extracing the areas where the background shows through. To do this, outline with the pen tool one of the "holes". Here, I use a 40-60% opacity and choose a contrasting color so that my mask shows up, but I can see through to do my tracing. Make it a new selection, and outline another hole. This time, choose "add to selection". In a complex image like this, I will do several outlines, and add selections. I will then go to layers and merge layers into background.
*******
If you have your mask opacity strong enough, you can take the magical eraser tool and click on a selection, and it will disappear. The background will show through. Repeat with each outlined hole, and watch the magic. With a complex image, I will continue to do a few outlines at a time. In extracting a whole ocitillo plant this way, I ended up with 225 seperate selections. That took awhile, but it saved me time over doing it with the eraser tool.

No comments:
Post a Comment