*******
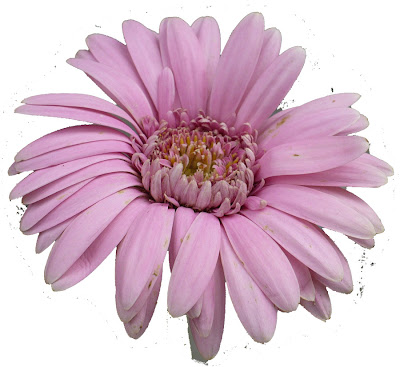
I leave anti-alias on to get smoother edges and leave it set to contiguous. We are working with only one layer at a time so we don't need sample all layers. Opacity = 100%. The variable choice is to set a tolerance level.
*******
For most images, I set it between 20 & 30. Smaller numbers give you more control. Larger numbers speed up the process, but allow for loss of part of the image you want to keep.
*******
Exactly how I proceed, depends partly on the complexity of the background and the amount of contrast between foreground and background. Here we have a relatively simple background, but not too much contrast between foerground and background.

Here we have a relatively simple background so that we can erase large areas at at ime, but since the contrast is not great; we have to be careful not to erase too much. This can be compensted by choosing a lower tolerance level, but I also like to zoom in a bit as I erase so that I can see if too much gets erased. By clicking and observing the results, we can catch it if the eraser cuts into our image.
*******
If you spot it right away, it is a simple matter to go to edit and click undo. If you don't spot it soon enough, you will have to use the history palette to correct the damage.
*******
Most of this has gone well, but I ran into trouble at the very bottom. This section of gray background is too close to the shaded petal. Using a tolerance level of 30 cut into the petal drastically. I had to go down to 5 to erase safely. At that, it is not clean; but we will use the standard eraser to finish up.
*******
Strike your own balance and be flexible to adapt to varying circumstances. Experiment to find a compromise between speed and precision. Take large areas with the magic eraser at high numbers to speed up the process or use a small diameter on the standard eraser to maximize control and detail.
*******
For our purposes here, we don't have to be too precise, but the perfectionist in me likes to get them pretty close. If we were going to blow this image up a lot and hang it in a gallery, then we would need more precision. The beauty of the mandala designs is that we can create poster size images without blowing up individual flowers so much that they start to pixelate. It is a big advantage if you are not a professional photographer with a lot of expensive equipment.
*******
Let's move on to the next step.

No comments:
Post a Comment