*******
We may want to reduce the image down for use as smaller prints, cards, bookmarks, etc. On Zazzle, we can even make such small items as pins, business cards and postage stamps.
 I am filling the background with cyan. We can and probably will change the background at the end. Use whatever color pleases you.
*******
I add grids and guides. I like to use 1" grids for this size image. I use guides to divide in half vertically and horizontally. This also establishes your center which is essential. In fact, I zoom in so that I can match the guides up with the grids at the center. It will be critical that we and the computer know exactly where the center of our page is. Everything will revolve around that.
*******
Next we will choose a flower for the center of our design. I like to use a round, symmetrical image for this. Click and drag the appropriate flower from our assembled page. Move to the center of our mandala page and reduce the size downt to what you see here. I like to zoom in to center our flower precisely.
*******
Since we started with a pink blossom, let's choose a lavender flower with a side view for contrasting color and shape. Again, drag to the page and scale to fit. Zoom in to align precisely to the right of the central flower.
*******
We have a variety of choices here. We can scale flower to the same size as the central one of make it larger or smaller. We can align our new bloom close to or touching the central one, or move it further out. We can also vary the number of blooms surrounding the center.
*******
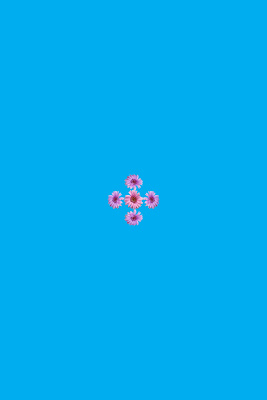
In this case, we will have our flowers barely touch the central bloom and create a cross by using 4 blooms.
*******
Now comes the fun. Go to layers tab and choose duplicate layer. Go to the edit tab and choose transform. Select flip horizontal. Using the left arrow, move the duplicate to the left of the center. Zoom in as necessary to align accurately.
*******
This is where it gets interesting. Use shift click in the layers palette to highlight these 2 layers. Using layers tab, duplicate layers. Go to edit and transform. This time, choose rotate 90° CW for clockwise as opposed to CCW for counterclockwise. Voila! We have our cross. Isn't this great?

No comments:
Post a Comment